As the spring approaches, and the crisp mornings and lighter evenings roll in, our Fran feels rejuvenated and ready to try out loads of new and innovative crafts. Fran is always looking for ways to recycle materials, she very much has a 'if I can make my own, why buy it?' attitude. She is here to tell us all about her latest craft obsession, making her own floral wrapping paper!
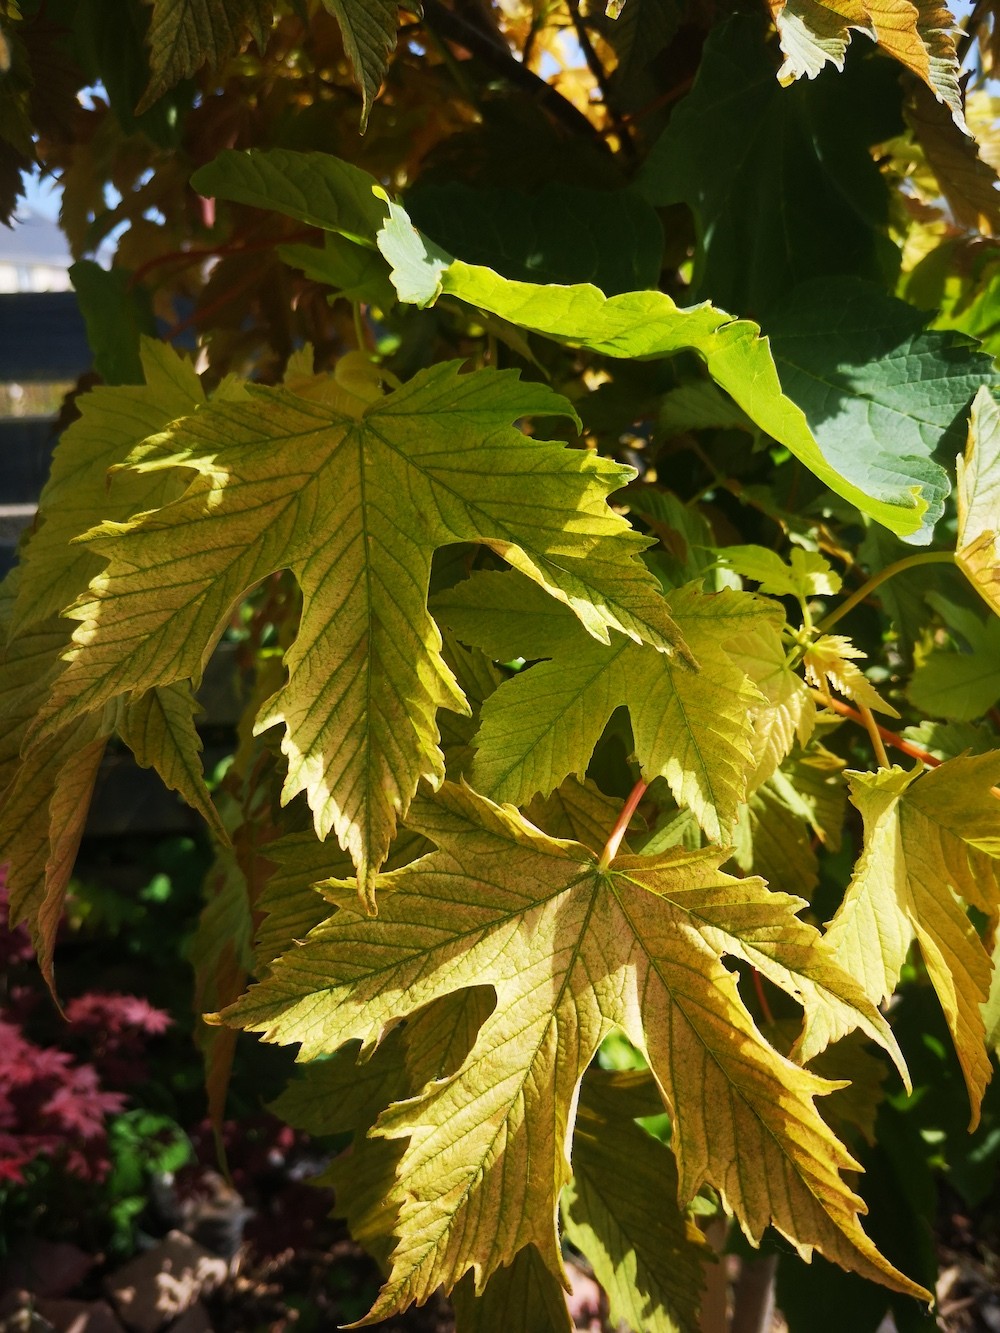 I am very proud of my garden
I never used to be a keen gardener, I'd never been described as 'green fingered,' but I have always been a crafter and creator and since owning my own home, my garden has become one of my greatest passions. I have learned all the names to the plants I own, including a beautiful range of exquisite roses, Japanese Acers and a spreading crop of bamboo. As a passionate crafter I wanted to find a craft that would combine my new pleasure of the garden and my desire to create my own paper crafts. This is how the idea to make my own floral wrapping paper was born.
 An example of my stunning roses
I walked through my garden and collected any fallen petals and leaves from brightly coloured flowers. If you don't have your own garden, don't despair, ask permission from a friend or neighbour or collect petals and leaves on your favourite woodland walk, (I do suggest collecting only those that have already fallen.)
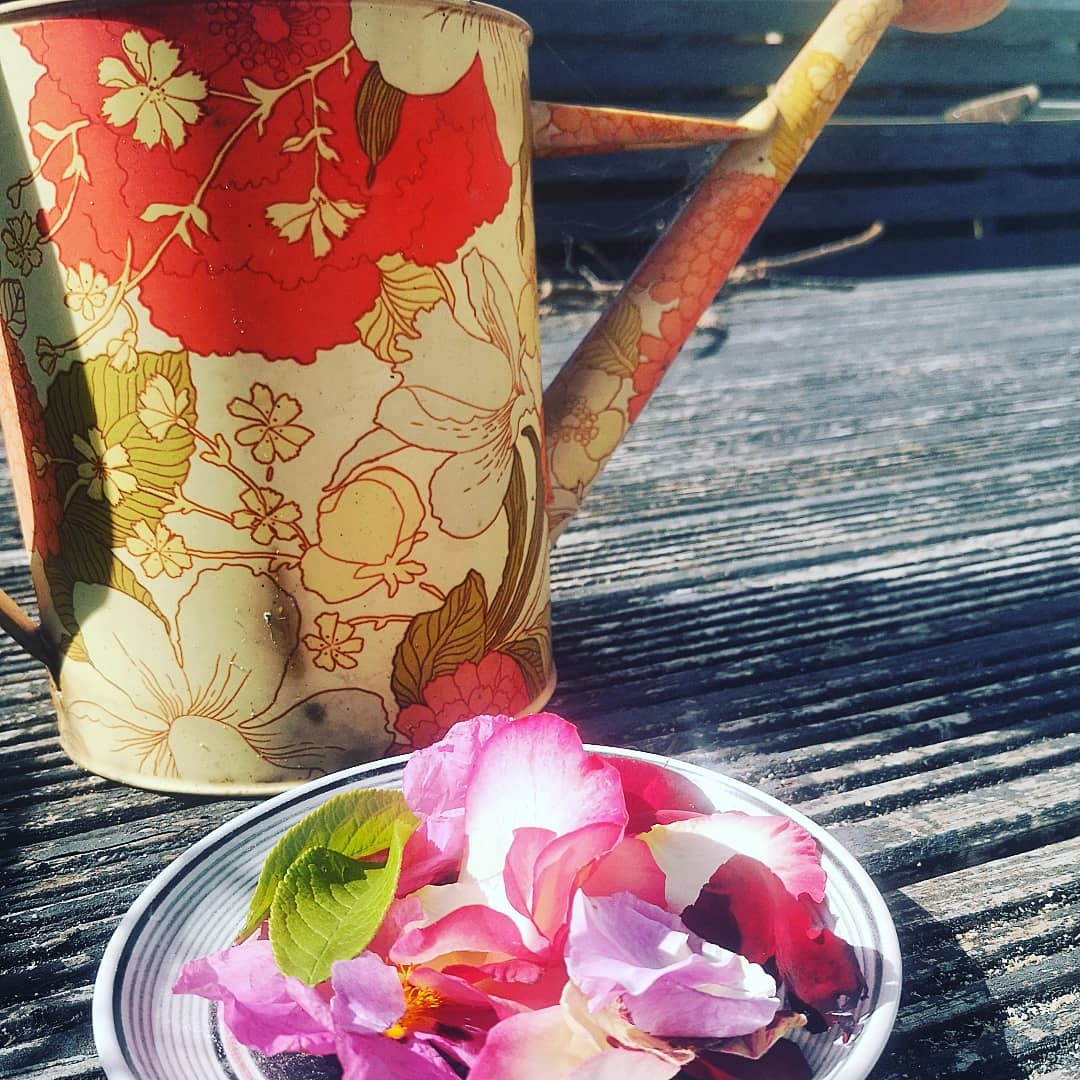 Collect a variety of coloured leaves and petals
You then need to select the paper that you want to use. I have been using liner wallpaper as it is blank, very absorbent and already on a roll. Alternatively, you could use plain art paper or even newspaper. You need to prepare a flat surface like a table, desk or even a garden bench and lay out your paper and weight it down to stop it curling up. You then need to choose your weapons...
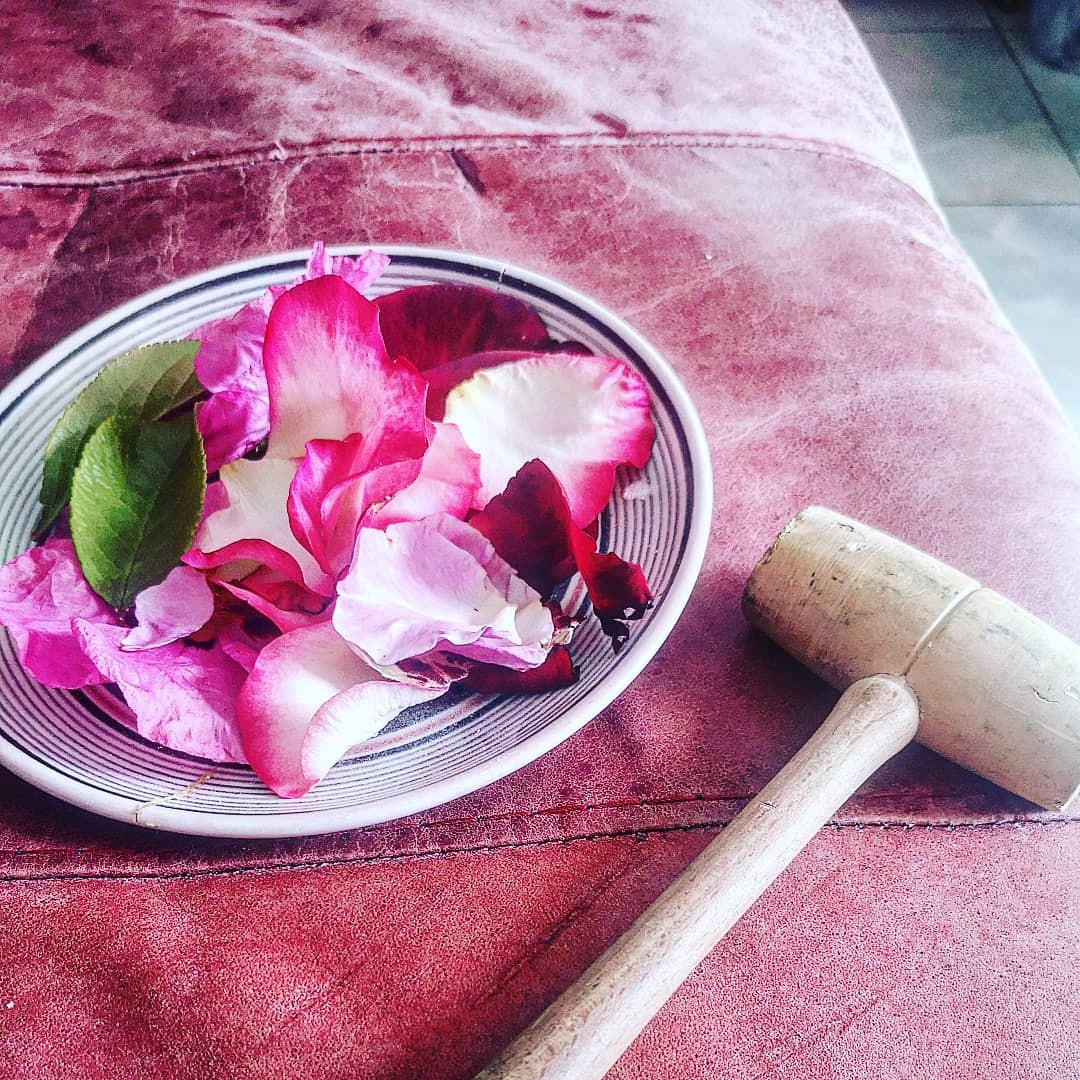 I use a wooden hammer
You need to find a tool that will help you transfer the colour from your petals and leaves to your chosen paper. I use a small wooden mallet as it is fairly gentle to most surfaces. I then cover my petals with a piece of kitchen towel and strike the petals with the hammer.
This is also a great craft to do with the 'little ones' I would recommend using something like the back of a spoon to apply pressure directly to the petals, and make sure they wash their hands before and after the process, to stay safe.
 You will be amazed by the colours
You can choose to leave your paper with just the natural colours and patterns of the leaves and petals, but I love to draw and really love the affects you can get with a black fine liner pen. You could also use marker pens, coloured pencils, crayons or paints to add more detail.
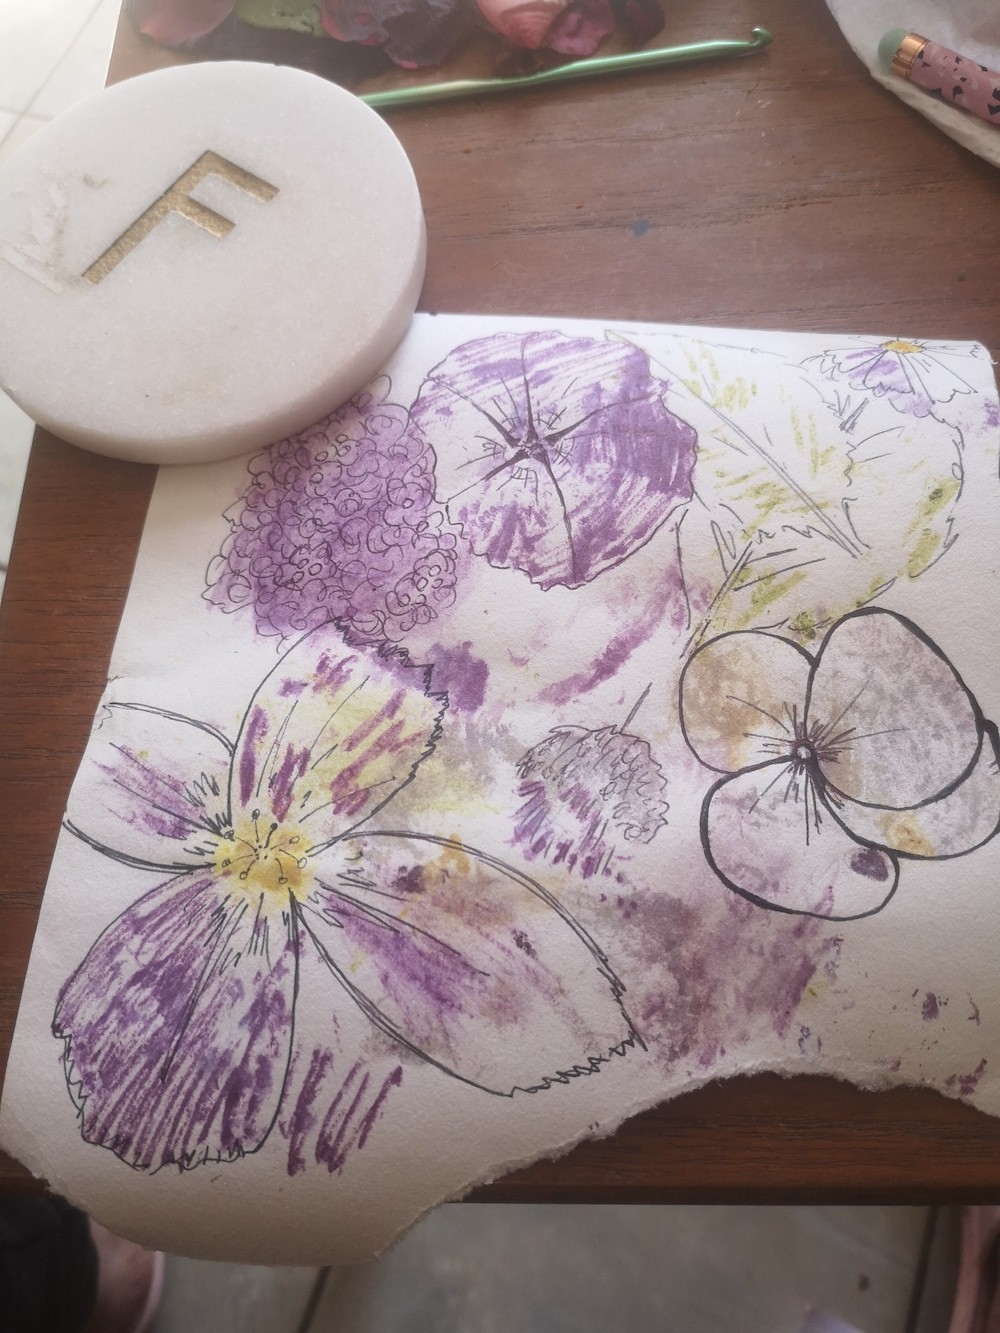 Give definition to your design with a fine-liner pen
Once you have completed your design there are so many uses for your paper. You can use it to wrap gifts, perfect for wrapping small items like bars of soap or boxed jewellery items. You can also cut out sections of the paper and use them to create birthday/thank you cards like I did below. I also explored other uses and found it was great to use to adorn coasters with a few layers of glue...
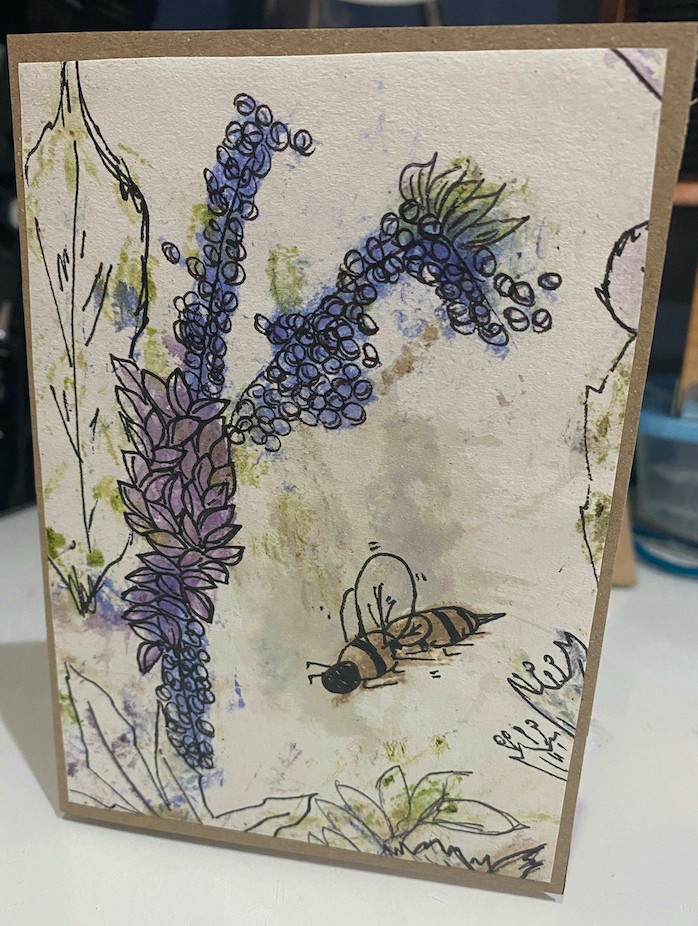 Ideas of what you can make using your paper
This coaster below, was just an old tile, left over from a previous DIY project. I added a layer of felt to the bottom and 4 cork feet and then applied my handmade paper with strong PVA glue. I let it dry between applications but it now stands up to any heat and is totally water proof. So much fun to be had and so many other crafts to try. Watch this space.
 With a couple of layers of PVA this coaster is good to go
If you are a keen crafter too and want to share your makes with us, head over to our Facebook page and feel free to share what has been keeping you busy. We have lots of papercraft courses and kits available if you are not sure where to start and need some expert guidance to start you on your crafting journey.


